Making Your Own Garden Scale Windows & Doors:
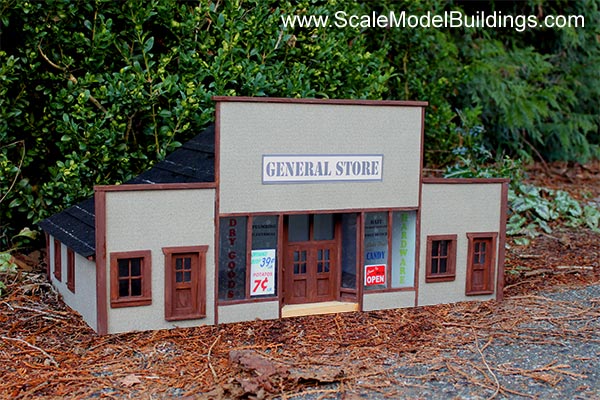 |
Pre-made windows and doors are available in plastic and other materials, and really help to simplify the construction process of a garden scale structure. However, if you really enjoy model building, and want to shell out a little less cash, you might want to consider making your own windows. If you have access to a table saw or band saw, with a bit of time and effort you can create many of the doors and windows for your Garden scale model railroad projects. This tutorial is intended to supplement the Construction Tips included with your ScaleModelBuildings.com Garden Scale Plan Package. |
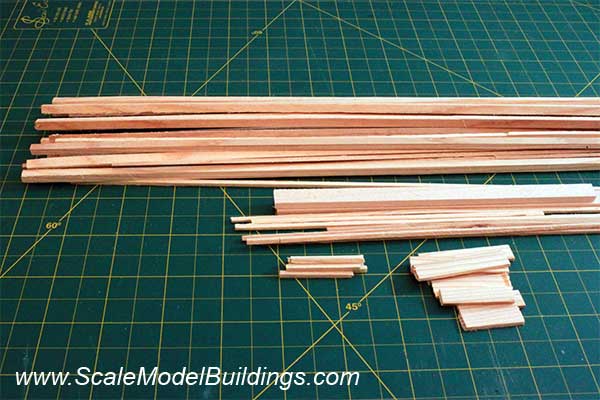 |
Getting Started:This pile of "lumber" is the result of a few minutes of re-sawing a 3/4" plank on my converted hobby saw. See the article on converting a tile saw to a hobby table saw at www.ScaleModelPlans.com. Check the suggested dimensions in the Construction Tips section of your plans. You will need strips for muntin bars, window casings, and window jambs. You can use the same dimensions for both the window casing and window jamb material. Don't hesitate to cut more than you think you will need. 1 x 6 material goes a long way when re-sawing for a 1:24 scale project, and you will probably want to continue on making your own windows after you get the hang of it. |
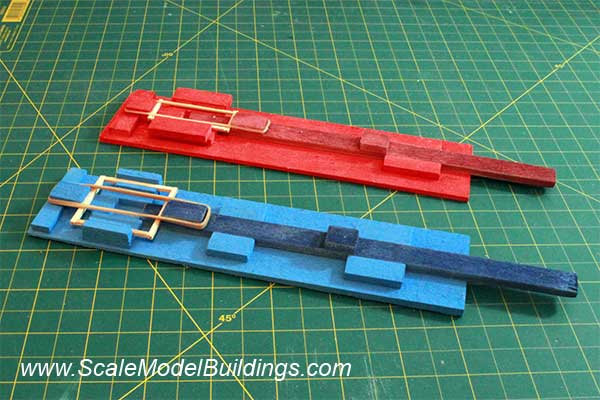 |
These sash assembly jigs are described in more detail in the Construction Tips section of your plans. I made two sizes in order to create a greater variety of windows. The width of the jig is fixed, but the sliders allow for various "heights" of windows to be constructed using the same jig. |
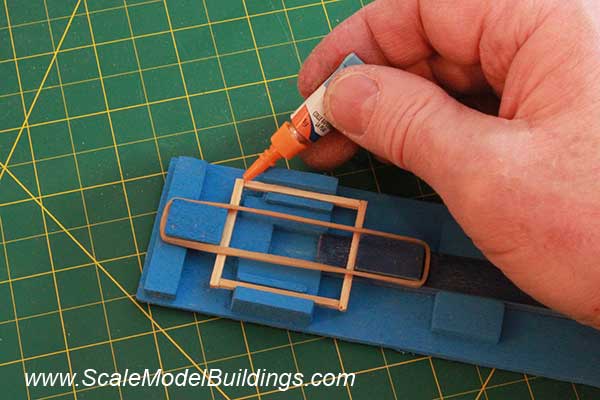 |
I use a chopper with a fresh razor blade to cut the muntin bars and sash pieces to uniform lengths. Tweezers can come in handy to place the pieces into the jig. The rubber band will help to retain the pieces and hold pressure while the glue sets. Cyanoacrylate glue can be used to quickly assemble the component, and can be supplemented with exterior carpenters glue or other choice, if required. |
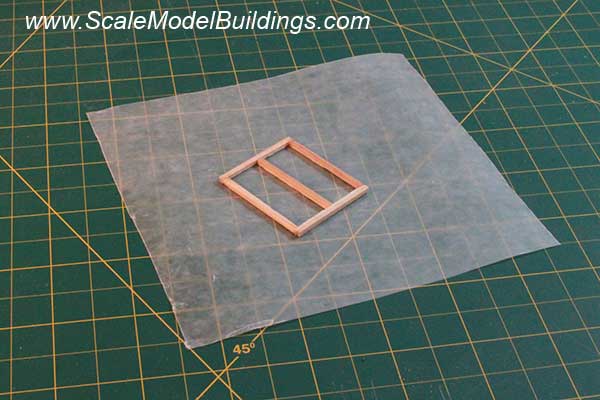 |
This sash assembly could be considered completed, and represent a two-light slider or casement window, or you could add a horizontal muntin bar at this point. Refer to the Construction Tips section of your plans at this point to see the various arrangements that can be assembled using just one size of sash frame. |
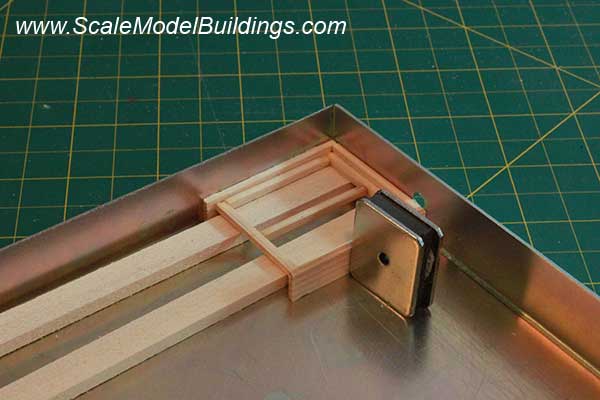 |
Once the glue has set on the sash frames they can be used to facilitate the addition of window jambs. I'm using a Micro Mark magnetic gluing jig, but you could create your own, as shown in your plans. Most window sashes are set back from the outside of the frames. Use any suitable scrap pieces, as shown, to hold the sash assembly at the proper height while gluing. |
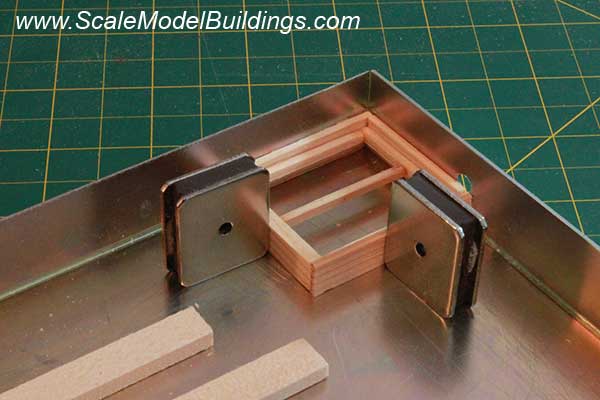 |
The magnets keep enough pressure on the assembly that I can carefully remove the scrap pieces and attach the final, lower window jamb to the frame assembly. The nice thing about the Micro Mark jig is that I can assemble four windows at a time. |
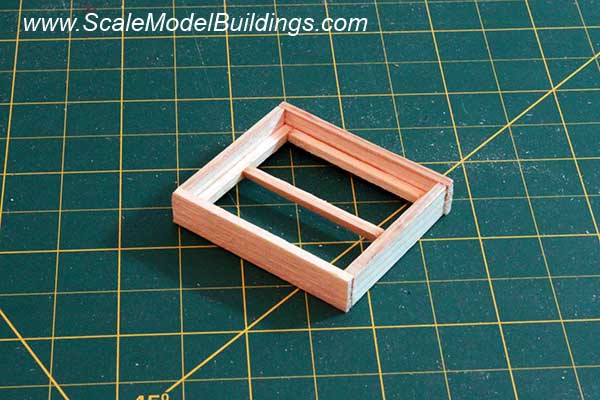 |
This is the completed window so far. At this point, the window could either become a two-light casement or slider, or rotate it 90° to become a double-hung or awning window. |
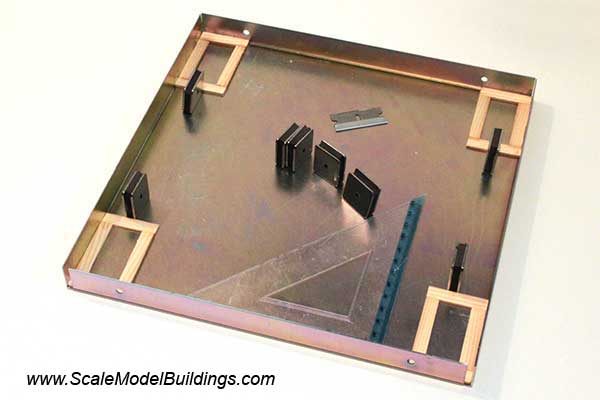 |
You can use a small set square to align and ensure that the window casings are parallel. Another advantage to the metal gluing jig is that any spilled glue can be scraped off with a razor blade. If the window casing assemblies stick to the metal jig they can be pried loose with a razor blade or utility knife blade. |
|
|
|
|
|
|
|
|
|
 |
Muntin Bars can be placed as outlined in the guide included in your Garden Scale Plan Package, or they can be placed manually using tweezers after the window is assembled. The window jamb assembly can now be glued to the casing assembly.
|
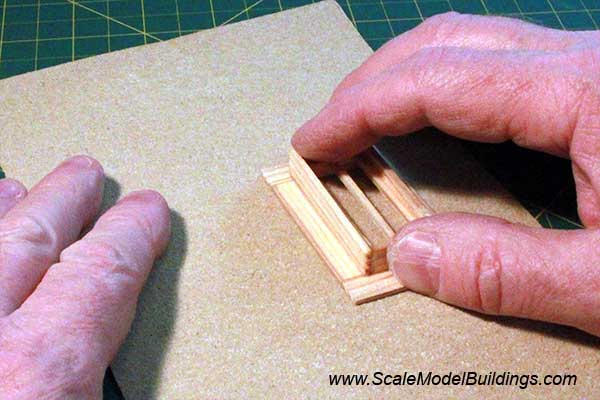 |
Once the glue has thoroughly set you can use a sheet of sandpaper on a smooth, flat surface to smooth out any irregularities in the surface of the window casings. |
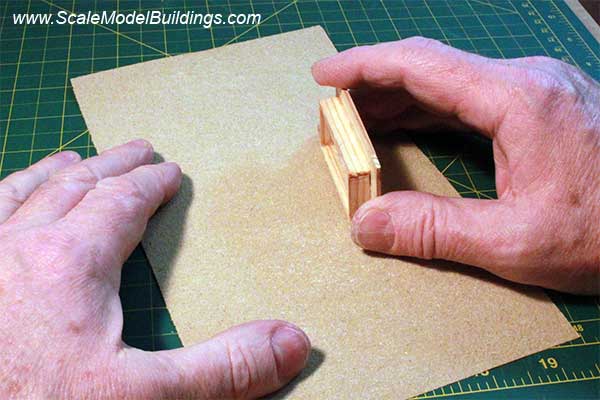 |
You can smooth out imperfections in the end-to-end joints, and also fix any 'out-of-square' conditions as well. |
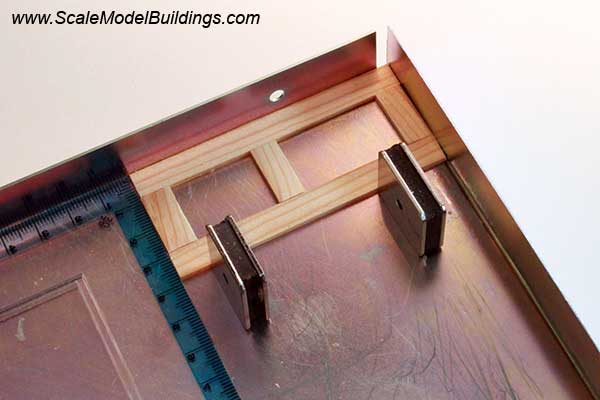 |
This technique will create a 'raised-panel' door. |
|
|
|
 |
You can use scrap material to create a full panel or half-glass effect for the doors. The rest of the assembly process is similar to the windows with the exception of leaving out the bottom casing. |
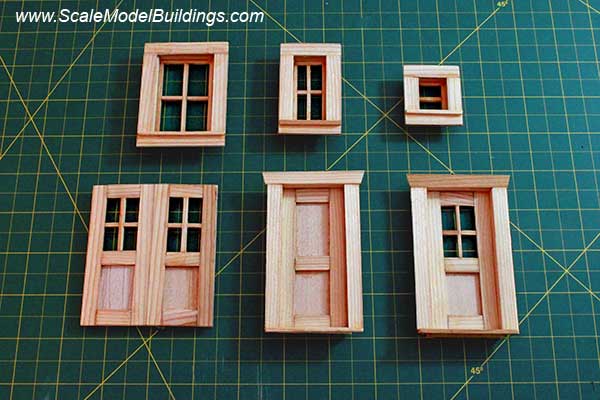 |
These are examples of some of the garden scale doors and windows used in Plan 1200g, Watson's General Store. Notice that the top casings of the doors are canted slightly for appearance. |
 |
A good day's work and I've got enough doors and windows for two or three structures. Believe it or not, all of this came from about one board foot of material. In this case it was a scrap piece of Douglas Fir from an old shelf unit. Apart from the advantage of having less out-of-pocket expense for my next few projects, these doors and windows can be painted, stained, or finished in a natural exterior oil finish for a very realistic appearance. |
|
|
|
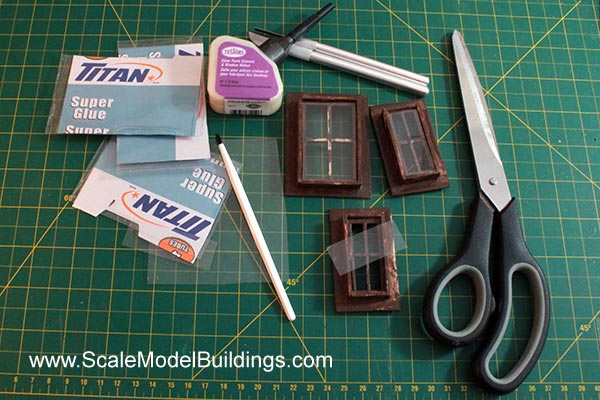 |
You can often salvage window glazing from packaging material. The plastic packaging from the Cyanoacrylate glue is .006" thick. At a 1:24 Scale this works out to just over the equivalent of 1/8" window glass, which was common for residential windows. To glue the "glazing" in place I use canopy cement, which dries clear. |
|
|
|
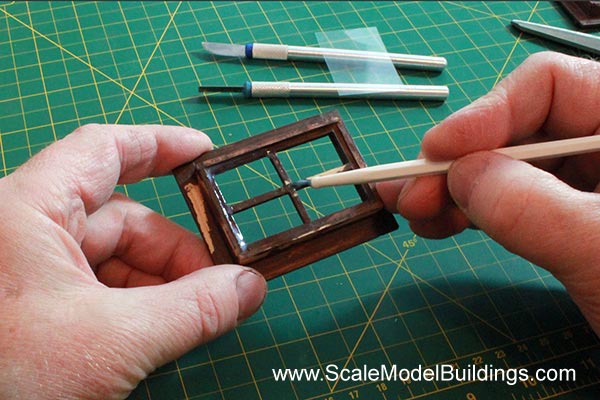 |
Apply the canopy cement with a stiff bristle brush. Cover the muntin bars and completely around the perimeter of the window frame/sash. Since the structure will be exposed to rain, you want to make a complete seal around the edges. The canopy cement dries clear, so trace amounts of extra glue won't be too noticeable. |
|
|
|
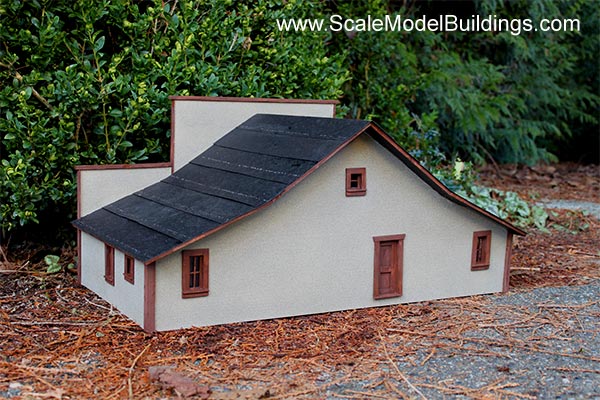 |
This project, Plan 1200g, Watson's Store, has over sixteen doors and windows. This would have added considerable expense to the project, but for a fraction of the cost of commercially available windows you are able to create your own. There may be times or other situations where It might be desirable to purchase pre-made windows and doors, but for the most part, the process is not as daunting as one might think. Also, being constructed from wood, you have the option of staining in a natural finish, which you can't do with commercial plastic windows.
|
| | |
For N, HO, OO, O and other scales visit ScaleModelPlans.com ...
for our catalog of N Scale 1:160, HO Scale 1:87, OO Scale 1:76, and O Scale 1:48 plans, templates, and Cardstock patterns, then click to order the printable PDF files so you can get started on your next project. Modelling in Z, TT, or S scales? Click here
© 2023 T. Carson Contact Webmaster

